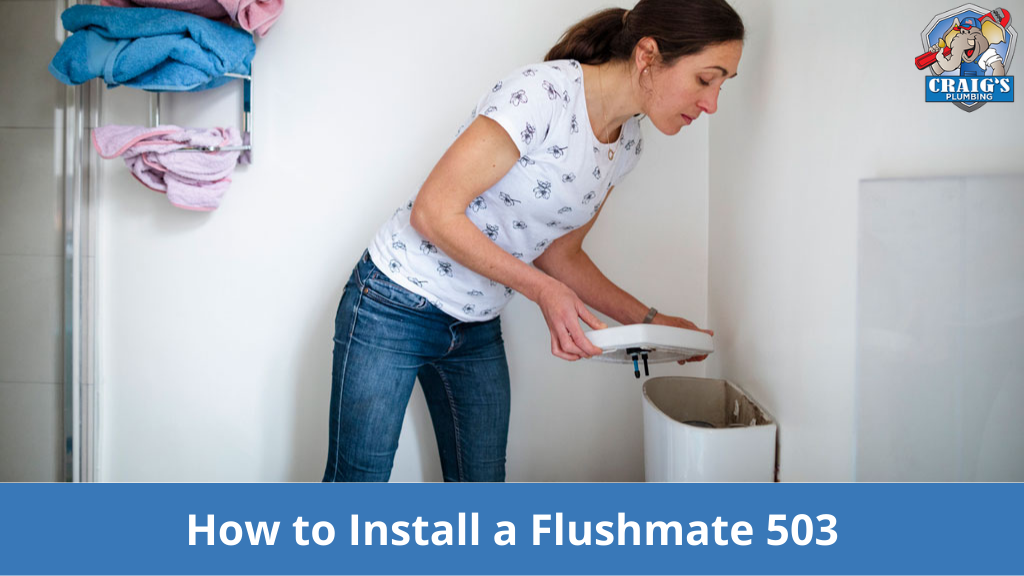
Do you have a Flushmate III 503 series toilet system? If this is the case, verifying that it is placed appropriately is critical to ensure optimal performance and minimize any potential dangers. With Flushmate’s recent voluntary safety recall and free repair kit, now is an excellent time to learn how to correctly install your Flushmate 503 unit. In this blog post, we will give you a complete step-by-step tutorial to help you traverse the installation procedure with ease and confidence.
Before we get started with the installation, let’s go over the recall announcement again. Due to the potential of bursting at or near the vessel weld seam, Flushmate has announced an expanded voluntary recall of Flushmate III 503 series units. This can result in the release of accumulated pressure, which can endanger people and property. To safeguard your safety and the safety of others, you must solve this issue by installing the given free Flushmate 503 recall repair kit.
Now, let’s proceed with the step-by-step instructions on how to install your Flushmate 503 unit properly:
Tools and Materials Needed
Before you begin the installation process, gather all the tools and materials you will need. This may include a wrench, screwdriver, plumber’s tape, and the repair kit provided by Flushmate.
Ensure you have the proper equipment and materials to guarantee a seamless installation. Let us now go to the detailed instructions for installing a Flushmate 503.
Step 1: Prepare for Installation
Shut Off The Water Supply
Turn the water shut-off valve near the toilet clockwise to stop the water flow. To drain the tank, flush the toilet and use a pail or towels to remove any remaining water.
Disconnect The Water Supply Line
Using adjustable pliers, loosen the nut that links the water supply line to the bottom of the toilet tank. Once the supply line is free, place it in a bucket to catch residual water.
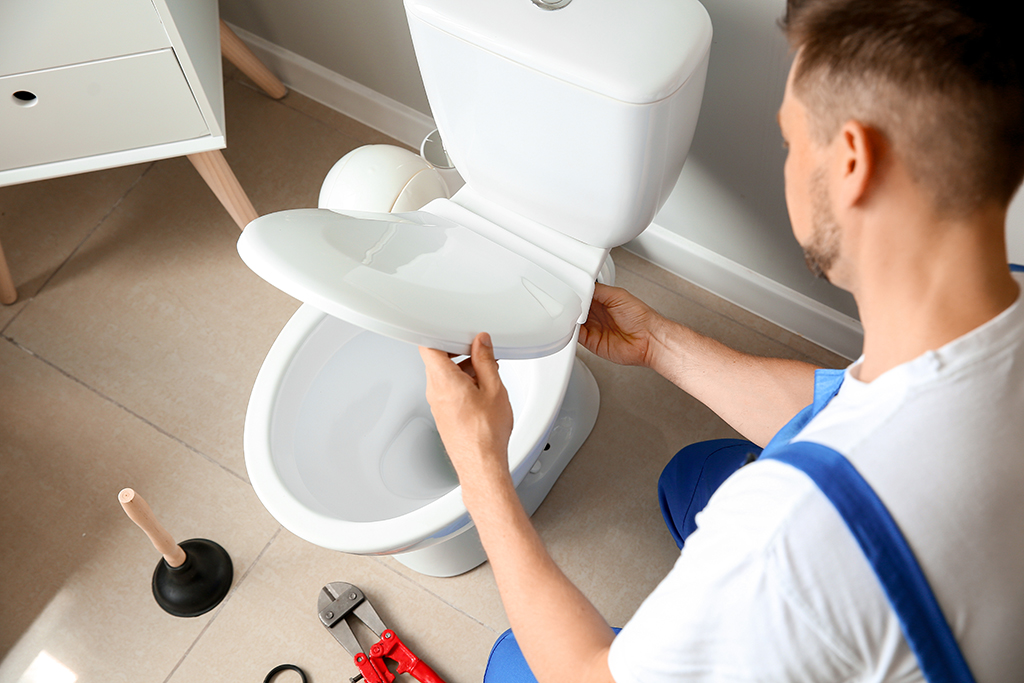
Remove The Toilet Tank
Carefully remove the tank lid and place it aside. Remove the fasteners that secure the tank to the bowl with a screwdriver. Lift the tank gently from the bowl and set it on a towel or rag.
Remove the Old Flush System
Remove The Flapper Chain
Look for the chain inside the tank that connects the flush handle to the flapper valve. Set the chain aside after unhooking it.
Remove The Flapper Valve
Lift the flapper valve and detach it from the overflow tube to remove it. Examine the valve for signs of wear and tear and replace it as needed.
Remove The Overflow Tube
Remove the overflow tube by unscrewing the screws or nuts that hold the overflow tube to the tank. Lift the tube gently out of the tank and lay it aside.
Remove The Flush Handle
Unscrew the nut that secures the flush handle from the inside of the tank. Pull the flush handle out of the tank once it has been removed.
Install the Flushmate 503
Prepare The Flushmate Vessel As Follows
To prepare the vessel for installation, follow the instructions included with the Flushmate 503 package. Cover the vessel-to-toilet tank gasket with Teflon tape to ensure a watertight seal.
Position The Flushmate Vessel
Place the Flushmate vessel on the mounting studs of the toilet bowl, aligning it with the mounting holes on the bowl. Insert the mounting bolts into the holes and secure them with the locknuts provided. Using a crescent wrench, tighten the locknuts.
Connect The Water Supply Line
Reconnect the water supply line to the Flushmate vessel. To prevent leaks, wrap Teflon tape across the threaded end of the supply line. Tighten the nut with adjustable pliers to achieve a secure connection.
Install The Flush Handle
From the inside of the tank, insert the new flush handle into the Flushmate vessel and secure it with the included nut. Check that the handle is properly positioned and moves smoothly.
Replace The Tank
Carefully reinstall the toilet tank into the bowl, matching the mounting bolts with the corresponding holes. Tighten the bolts using a screwdriver once they are aligned. To avoid damage, avoid over-tightening.
Step 4: Final Steps and Testing
Reattach The Flapper Valve
Connect the flapper chain to the flush handle and the new flapper valve to the overflow tube. If necessary, adjust the chain length to ensure optimal flapper action.
Turn On The Water Supply
Turn the water shut-off valve counterclockwise to restore the toilet’s water supply. Examine the Flushmate vessel and water supply line connections for any leaks. Tighten the connectors as needed if there are leaks.
Test The Flush
When the tank is full, flush the toilet numerous times to check the Flushmate 503 works properly. Check to see if it offers a powerful and efficient flush.
Important FAQs
What is the recall on Flushmate 503?
The recall on Flushmate 503 refers to a specific series of Flushmate III units (Series 503) manufactured between October 14, 1997, and April 30, 2011. These units have been recalled due to the potential risk of bursting at or near the vessel weld seam, which can pose impact or laceration hazards to consumers and property damage.
How do I check for Flushmate recall?
You can verify the serial number on the product label to check if your Flushmate III unit is included in the recall. Visit the website http://recall.flushmate.com or call the Flushmate Recall Hotline at (800) 303-5123 to check your serial number and determine if your unit is affected.
Why do we use Flushmate?
Flushmate systems are used in toilets to provide enhanced flushing performance and efficiency. The pressure-assist technology used in Flushmate allows for a more powerful and effective flush, resulting in improved waste removal and water conservation. The Flushmate system is designed to provide a strong and reliable flush for a more efficient and cleaner toilet experience.
Can I replace Flushmate with a standard toilet system?
Yes, replacing a Flushmate system with a standard gravity-based toilet system is possible. You may need to consult a plumber or a professional to assist you with the installation process.
Conclusion
Installing a Flushmate 503 is a simple step that can greatly increase the flushing performance of your toilet. You may confidently install a Flushmate 503 and enjoy its improved flushing capabilities by following this step-by-step tutorial. Remember to take caution, follow the directions with the Flushmate 503 kit, and use the proper equipment. With a dependable flushing system, you’ll have a more efficient and delightful bathroom experience while conserving water. If you require expert assistance or have any plumbing-related inquiries,